
1. Quick Answer
The sequence for tackling capper downtime is fixed: log first, classify second, fix root causes third. Over 90% of capping-station stops concentrate in three event types, and each type has two or three dominant root causes (cap condition, gripping geometry, changeover omissions). Fill a downtime log with the fields "symptom — station — duration — action" for two weeks, and most plants will find that two root causes consume 60% of their lost time. Attack those two first instead of spreading effort evenly.
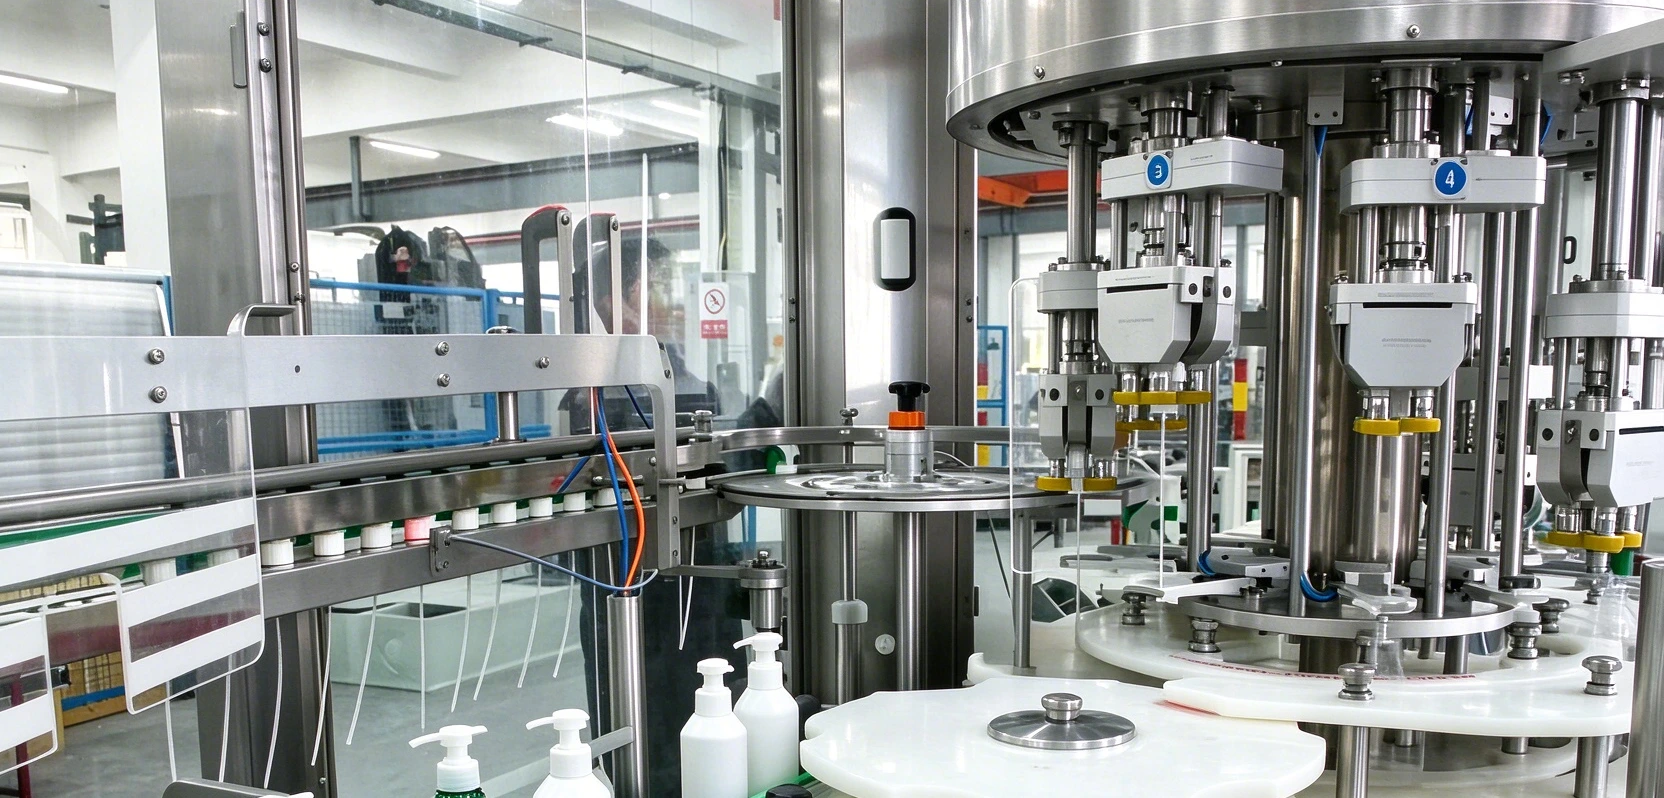
2. Downtime Log: Classify Before Improving
An unclassified downtime record is just an event list. Statistics should follow the categories below; each entry should carry at least symptom, station number, duration and action taken:
Category | Typical Symptom | Usually Attributed To |
Cap jam | Feed stops, sorter alarm | Cap condition, worn chute, static |
Bottle block | Bottle pile-up at the starwheel, jammed infeed scroll | Gripping geometry, mixed bottle types, backpressure |
Changeover | Planned stop overruns, repeated first-piece adjustment | Non-standardized changeover steps |
Micro-stops | Cleared in seconds, then running again | Not logged — yet often the largest hidden loss |
Electrical alarm | False sensor detection, interlock trip | Contaminated lens, sensor misalignment |
Watch out: micro-stops of a few seconds often never enter the log, yet their cumulative loss usually exceeds formal stops. Assigning someone to count micro-stops for one full shift is how many plants discover their hidden losses.
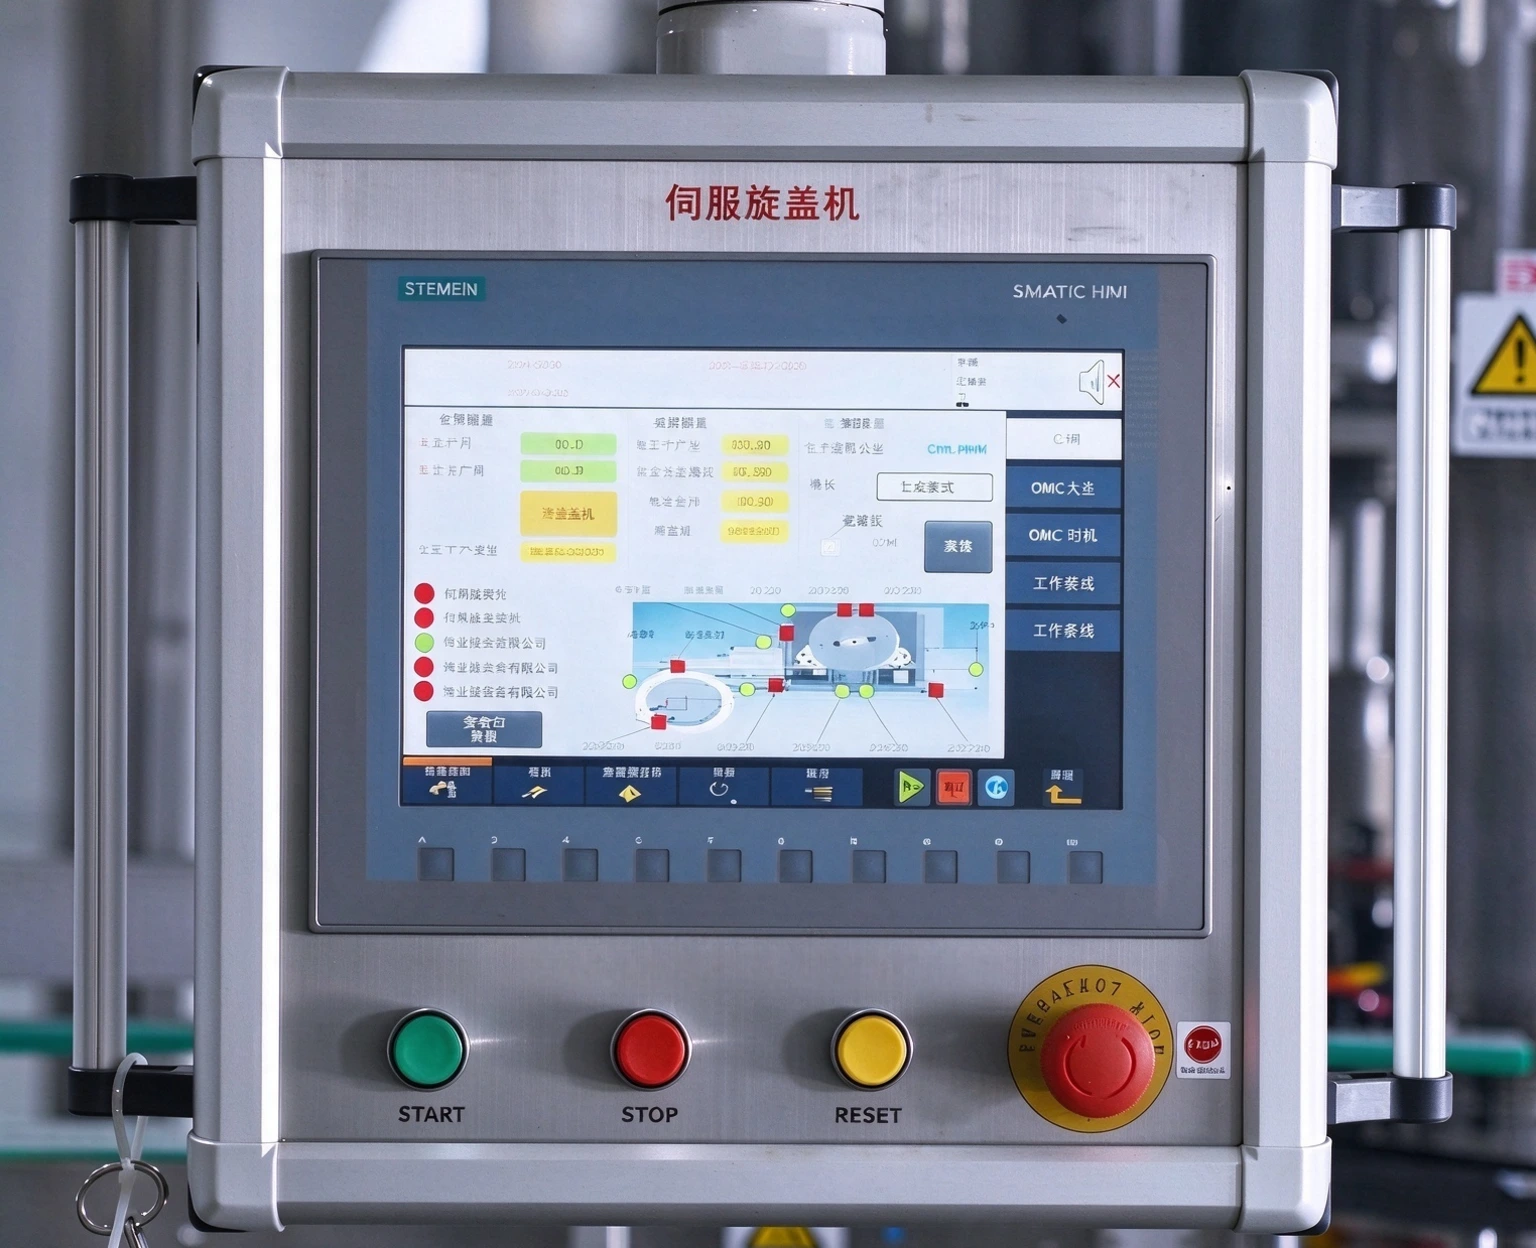
3. Cap Jams: Root-Cause Checklist
Locate jam root causes by position along the cap path — far more effective than blaming cap quality in general:
Jam Location | Dominant Root Cause | Preferred Fix |
Cap sorter outlet | Worn orienting disc, deformed caps from storage compression | Check disc clearance; reject the deformed batch |
Chute mid-section | Burrs at chute joints, width tolerance too tight | Deburr joints; re-measure chute width against the cap drawing |
Chute bend | Static attraction, lubricant residue | Fit an anti-static bar; clean the inner bend surface |
Cap drop point | Cap timing out of phase with the bottle | Re-check drop timing and the cap-detection sensor position |
If jams always follow a cap batch change, the root cause is most likely the caps, not the machine — run an incoming cap inspection (height, ovality, liner condition) before touching the equipment.
A practical shortcut for the position method: look one step upstream of where it jams. Jam in the chute mid-section? First check whether caps leave the sorter neatly. Jam at the drop point? First check the rhythm at the chute exit. A cap doesn't develop a problem at the moment it jams — it just exposes it there.
One seasonal pattern worth knowing: in northern plants, jam alarms often spike once winter sets in, and the usual culprit is static — as workshop humidity drops, PP caps visibly stick at the chute bend. Before touching the chute width, try humidifying or fitting an anti-static bar. The mirror image happens in hot summers, when caps soften and chute tolerances need loosening slightly. Two seasonal rail adjustments a year beat endless troubleshooting every time.
4. Bottle Blocks: Root-Cause Checklist
Bottle blocks share one signature: the bottle loses its reference somewhere before the capping station. Trace from the infeed backward:
Block Location | Dominant Root Cause | Preferred Fix |
Infeed scroll | Worn scroll pockets, uneven bottle pitch | Measure pocket wear; replace at the manual's limit |
Starwheel entry | Excessive backpressure pushing bottles off-center | Reposition the accumulation sensor; limit accumulation length |
Starwheel pocket | Worn pockets or adhered glass fragments | Clean and check pocket profile; replace when out of tolerance |
Clamp transfer | Insufficient grip force, bottle slipping | Replace clamp springs; clean debris from jaws |
Mixed-bottle production on one machine is a block amplifier: residual bottles left in the path after a bottle change are the most common and most overlooked root cause — the changeover SOP must include a "clear the bottle path" step.
Glass and PET bottles block for different reasons, so mixed lines need two lenses. Glass is heavy and rigid — blocks come from pocket wear and backpressure. PET is light and thin-walled — the usual suspects are clamp deformation and bottle wobble: grip too light and the bottle slips, too firm and the bottle crushes. PET lines generally need clamp springs one step softer than glass lines. Vendors don't always volunteer this detail.
An old technician's trick that genuinely works: on a machine with frequent blocks, stand by the starwheel for ten minutes and just listen. A healthy starwheel ticks evenly; a worn pocket produces one dull thud in the rhythm. The thud marks the pocket that needs attention — far faster than disassembling everything.
5. Changeover: Compressing Planned Stops
Changeovers are planned stops that routinely overrun. The compression principle is externalization: anything that can be done with the machine still running moves to before the stop.
Step | Conventional | Externalized |
Parts & tools | Search after the stop | Staged beside the machine before stopping |
New cap & bottle samples | Samples sent after the stop | Incoming inspection completed in advance |
Head height pre-set | Trial-and-error after the stop | Pre-set from a height lookup table; fine-tune only |
First-piece torque check | Station-by-station slow trial | One-pass sampling at low, nominal and top speed |
One actionable target: write the changeover SOP as a time-annotated checklist, each step carrying a target number of minutes and an owner. Most lines cut changeover time by 30–40% after adopting this.
A real-world example: a cosmetics line switching from a 28 mm pump bottle to a 33 mm screw-cap bottle used to take 38 minutes. The itemized breakdown showed 9 minutes hunting for hex keys and spare springs, 7 minutes waiting for the lab to clear the new caps, and 11 minutes trial-and-error on head height — 27 of 38 minutes spent on things that never needed to happen during the stop. After externalizing, it settled at about 24 minutes. The key was the lookup table: head height, rail width and spring spec for every cap/bottle combination, printed and taped to the machine. Trial-and-error time drops to nearly zero.
One line in the sand, though: compress preparation, never verification. We've seen lines skip the speed sweep to chase output, then rework an entire batch of loose caps two hours later. Five minutes saved became three hours of rework — the math never works.
6. Care Roles: Operator, Technician, Engineer
Downtime programs fail over role blur far more often than over technology. Split care duties by role and review them in the shift-start meeting:
Role | Frequency | Scope |
Operator | Every shift | Clean chutes and jaws, listen for abnormal noise, count micro-stops, wipe sensor lenses |
Technician | Weekly | Tension and lubrication checks, grip-force sampling, re-torque, photo-sensor alignment |
Process / equipment engineer | Monthly | Torque trend review, spare-part consumption analysis, SOP and changeover sheet revision |
The key constraint: operators perform only tool-free care tasks to prevent accidental disassembly or adjustment; technicians handle tool-level items; engineers revise standards only and stay out of daily inspection rounds.
7. Preventive Replacement Rhythm
The largest source of unplanned stops is "replace only after failure." Embedding wear-part changes into production valleys turns stops from emergencies into scheduled events:
Part | Suggested Rhythm | Early-Trigger Signal |
Head contact parts | At changeover windows | Defect rate at that station rising across two batches |
Clamp springs | Rotate a batch quarterly | Bottle-slip complaints or rising micro-stops |
Chute & sorter discs | Inspect half-yearly, replace by wear | Jams fixed at one location |
Photo sensors | Annual preventive swap | More than 3 false-detection alarms in a month |
Execution rule: the replacement rhythm must be written into the production schedule, not left on the maintenance department's wish list — without scheduled windows, preventive work always loses to output.
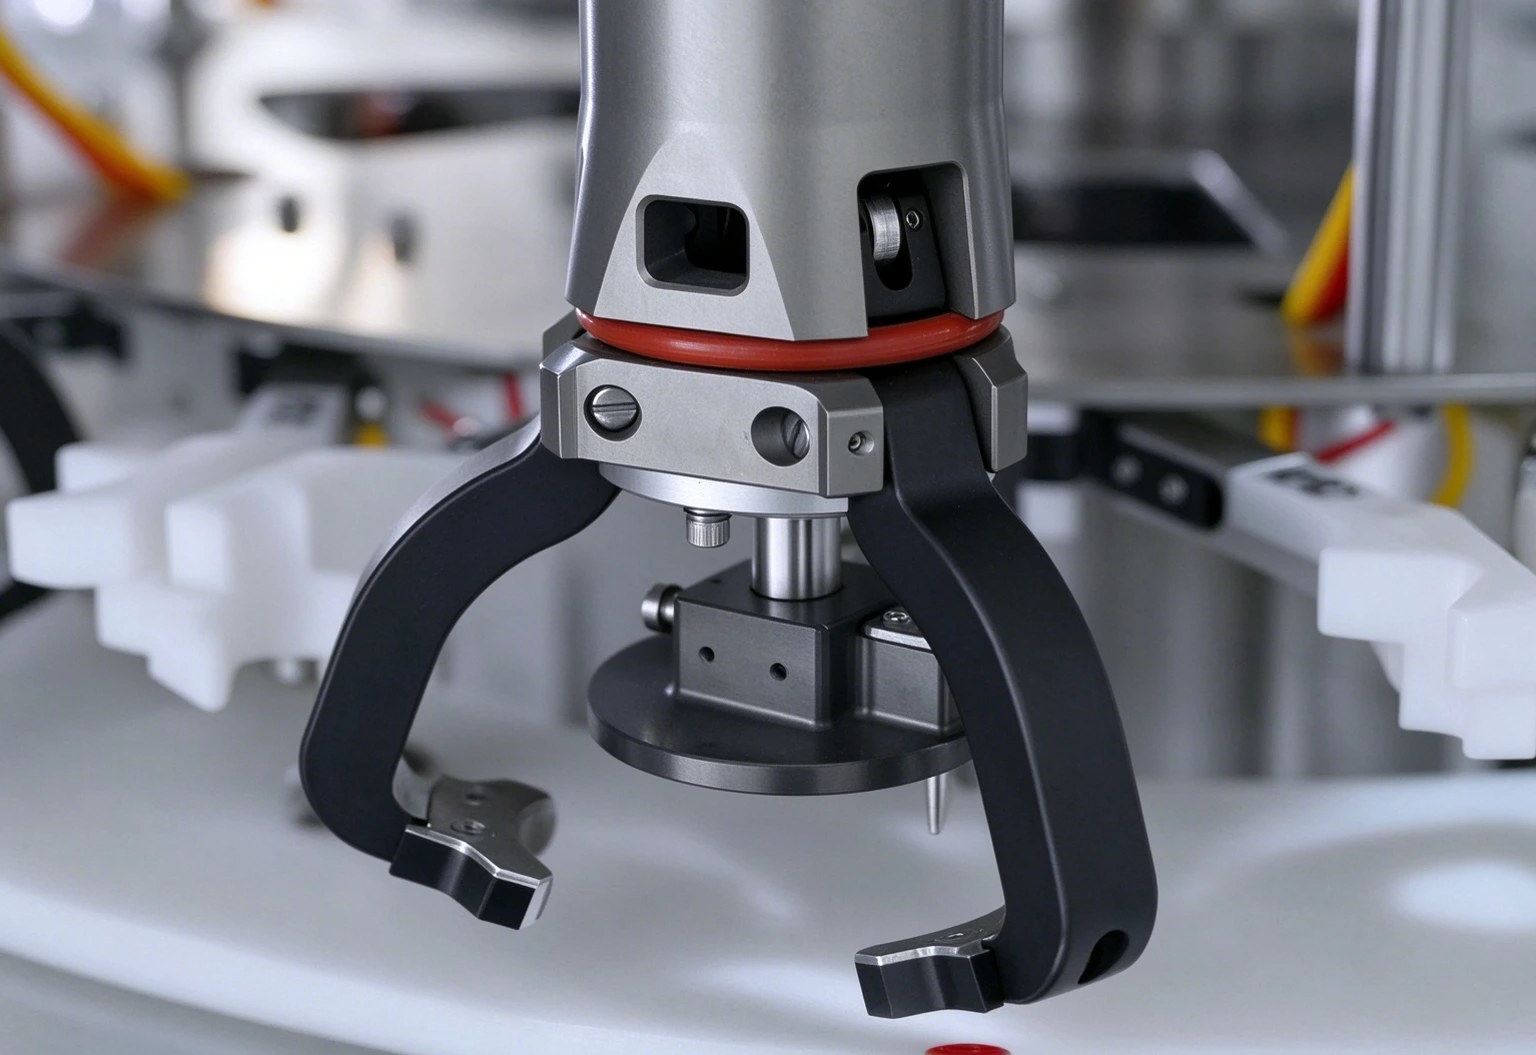
8. Improvement Loop for Downtime
Close the loop weekly with four metrics so improvement stays visible, traceable and reviewable:
Metric | Calculation | Weekly Action |
Downtime rate | Downtime ÷ planned run time | Identify the top two categories of the week |
MTBF | Run time ÷ number of failures | A week-on-week drop triggers root-cause analysis |
MTTR | Repair time ÷ number of repairs | Add troubleshooting guides for over-performing stations |
Micro-stop count | Counted per shift | Prioritize grip and chute checks when rising |
The final step of the loop is writing root causes back into the SOP: after every stop longer than 30 minutes, answer "which missing step did this expose?" and amend the checklist accordingly. Improvements that never reach the SOP are forgotten within three months.
Product reference & further reading:
The hardware ceiling of downtime control is set by the machine: servo heads, quick-change structures and inline torque monitoring directly compress MTTR. Before selecting equipment, review the High-Speed Automatic Screw Capping Machine and the Rotary Capping Machine Category. If the same faults originate upstream in cap feeding, start with Cap Feeding Reliability Troubleshooting. Component-level inspection lives in the Rotary Capping Machine Maintenance Checklist; changeover and first-piece verification are covered in the Automatic Capping Machine Setup Guide.
Next step:
Fill in the downtime log's classification fields this week and schedule one shift of micro-stop counting — both cost nothing and immediately turn "downtime feels bad" into "we know where it is." For machine-specific downtime analysis templates or changeover checklists, contact the manufacturer.
Operators record what happened and how long it lasted. Technicians add the cause and the fix. Engineers review it weekly.
Don't time each one. Just count how many happen every 30 minutes — the trend is enough.
Fix whichever costs more time in a week. If they're close, start with bottle blocks — they tend to starve the downstream line.
Yes. Run two weeks of logs first. If stops come from two or three simple issues — clearing chutes, changing springs — fixing them costs far less than a new machine.