
Failures that hurt output on a liquid filling line are rarely sudden. Piston seals wear, product residue narrows nozzle bores, level sensors drift, guide rails creep out of position and air finds its way into the product circuit. Each one starts as a change that an operator can see, hear or measure long before the machine refuses to run.The aim is narrow and practical: know what changed, where it changed, what was done about it and which part went in. Production, maintenance and purchasing then share a history worth reading, instead of a log that says “OK” on every line.
1. Quick Answer: Most Daily Filling Problems Trace Back to a Few Wear Points
A workable filling machine maintenance routine keeps three activities apart: operator observation while the line runs, technician inspection during a planned stop, and fault finding after an unplanned event. Blur them together and the log fills with “machine OK” and nothing a planner can act on.Daily complaints nearly always sit in one of the areas below. Read the table by symptom first, then confirm the finding at the machine.
| Area | Typical symptom | First visible sign |
| Piston, cylinder and seals | Fill volume drifting, product weeping past the piston rod | Volume trend slipping across a shift |
| Product valves and anti-drip nozzles | Dripping after the fill, stringing, contamination at the cap area | Product film on the nozzle tip or bottle shoulder |
| Nozzle bore and product contact parts | Slow fill, uneven stream, partly filled bottles | Fill time rising at the same volume setting |
| Product supply: filter, tank, pump | Cavitation noise, uniformly low fill, air in the product | Weight low on every station at once |
| Sensors, encoder, PLC timing | No-fill, double fill, bottles filled off station | Missing or extra fills on random bottles |
| Bottle handling and conveyor timing | Bottles off centre, jams at the infeed, spills | Bottles leaning or hesitating under the nozzle |
| Pneumatics and air supply | Slow valve action, uneven strokes, dripping | Air pressure sagging during the fill stroke |
| Lubrication and drive parts | Noise, vibration, heat, a changed machine sound | New noise at one station or at the main drive |
Buyer guidance: every seal material, lubricant, fill time, pressure setting and replacement limit mentioned here is a starting point for investigation, not a specification. Confirm each one against the manual for the machine in front of you, because the correct action depends on pump type, product chemistry and container.
2. Every-Shift Checks and Abnormal-Condition Records
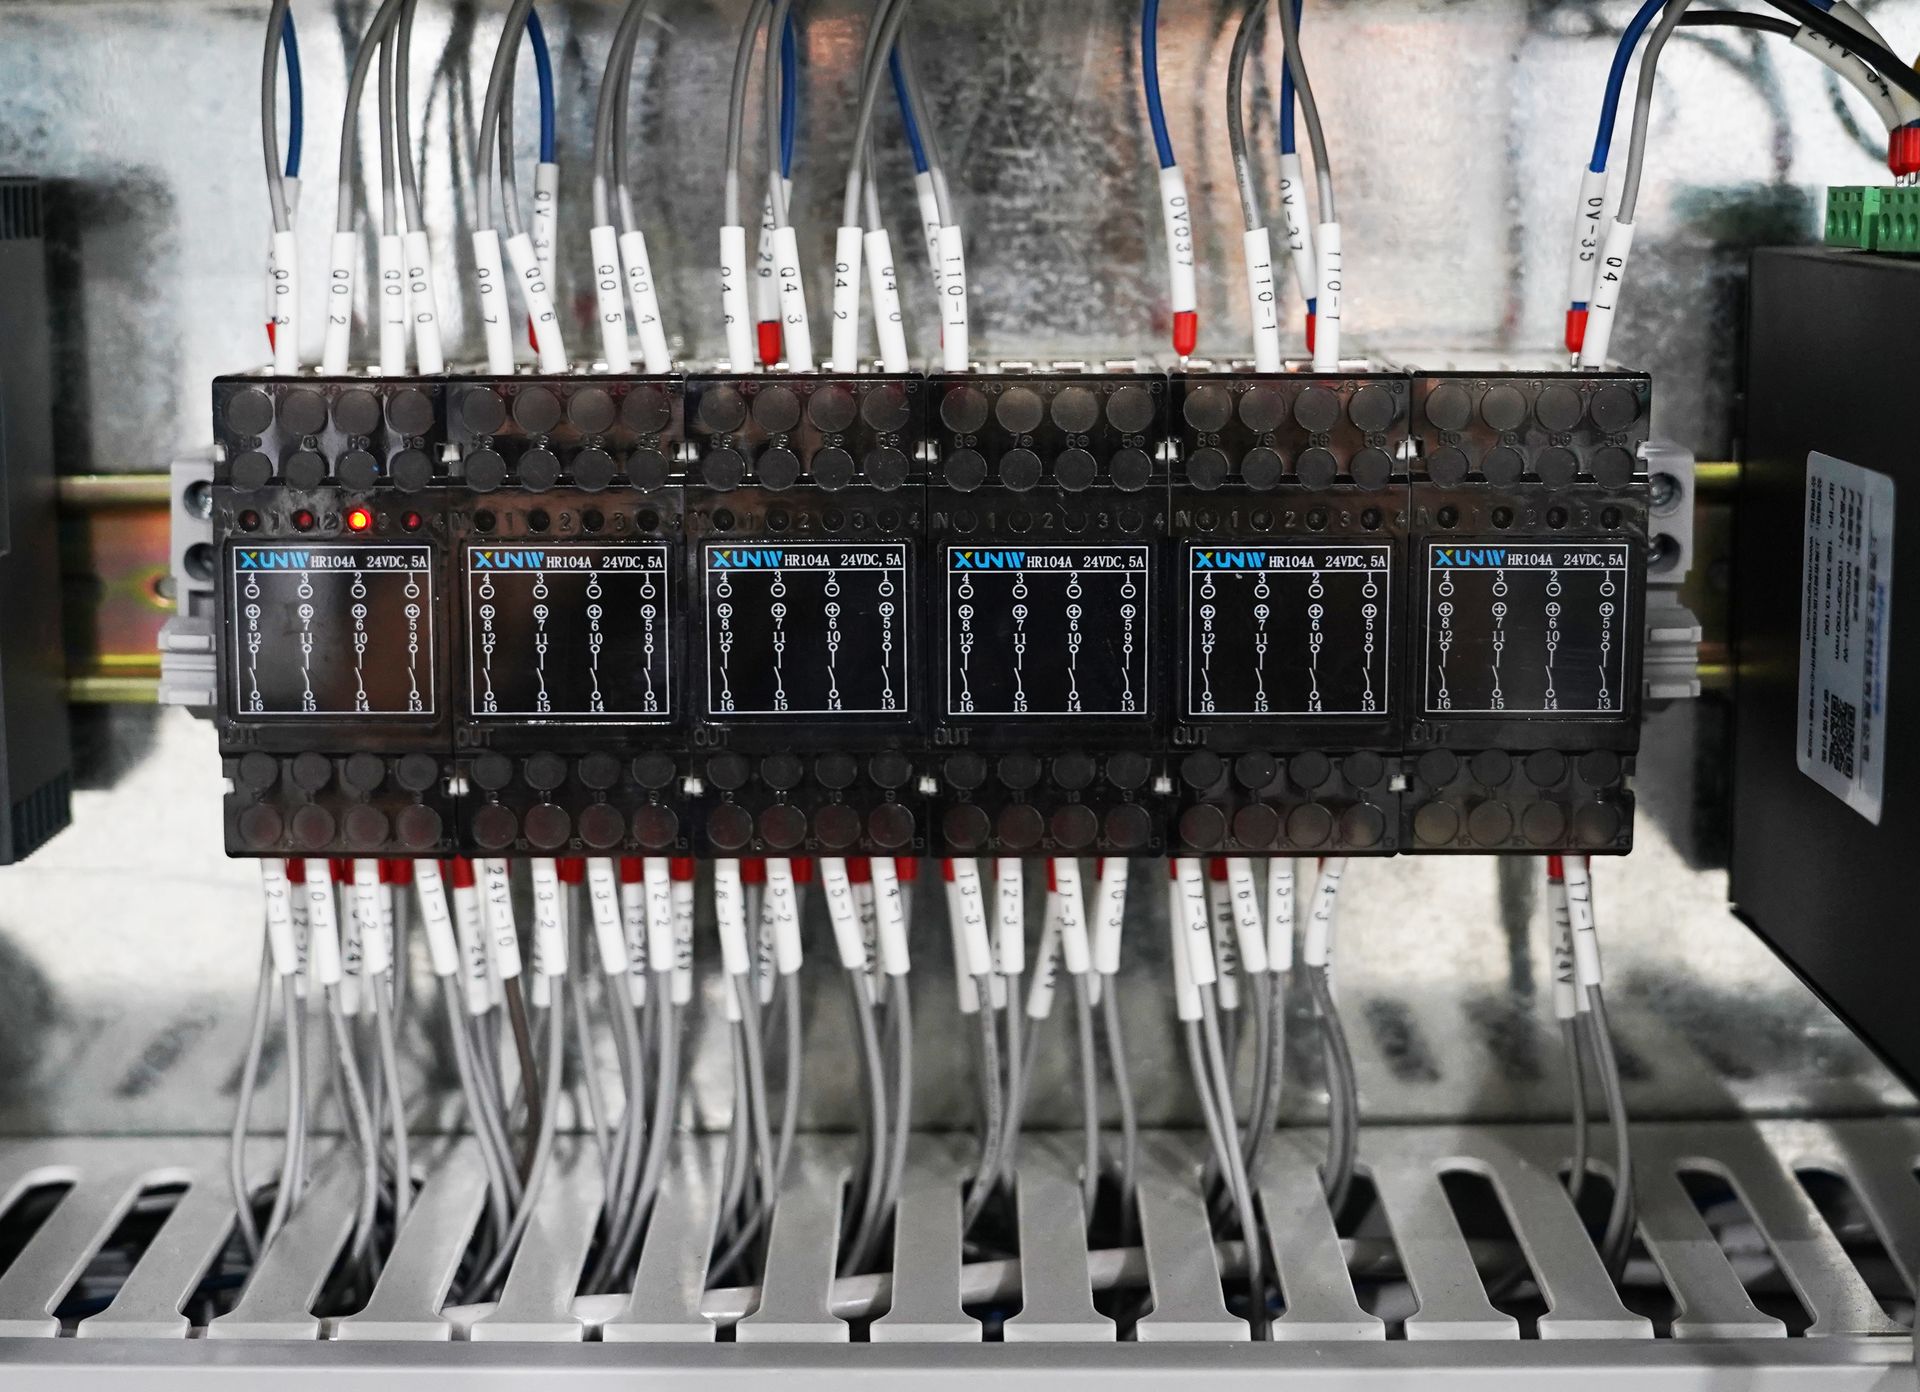
Every-shift filling machine inspection looks for departure from the normal condition the line has already established, carried out from a safe position with guards and interlocks in place. Open a guard only after the machine is stopped and the energy is isolated.Record observations such as:
- New noise, vibration, hiss or repeating mechanical sound at one station.
- One nozzle filling slower, faster or visibly different from its neighbours.
- Dripping, stringing or foaming where the line was clean before.
- Bottles rotating, leaning, hesitating or touching the guides differently.
- Check weight moving away from the setting on the scale.
- Product or cleaning residue around valves, nozzles or the drip tray.
A log entry that helps a colleague answers four questions: where the change appeared, what changed, when it was first seen and what was done about it. “Filler acting up” tells the next technician nothing. “Nozzle 4 on the servo piston filler dripped after every fill from the second hour of the shift” hands over a station and a moment to investigate.Keep planned service and fault finding apart. When the real cause sits upstream in bottle supply or conveyor transfer, open the guide that covers it and leave this record clean.
3. Problem 1: Fill Volume Drift and Inconsistent Fill Weight
Fill volume drift draws more complaints than any other filling problem, and it almost never has a single cause. The shape of the deviation points to where the answer is.
| Pattern of deviation | Most likely cause | First check |
| All nozzles drift together | Product temperature or viscosity change, tank head pressure change, supply air pressure, fill time setting | Product temperature against the last good run, tank level, air pressure, fill time value |
| One nozzle drifts while the rest hold | Worn piston seal, leaking product valve or partly blocked nozzle on that station | Seal and valve condition on that station against a known good one |
| Deviation grows across a shift | Progressive seal wear, residue narrowing the nozzle, filter clogging | Seal wear pattern, nozzle bore, filter differential pressure |
| Random heavy and light bottles | Air entrained in the product, valve not closing fully, bottle off centre | Air in the supply line, valve spring and seat, bottle position under the nozzle |
| Correct at low speed, low at production speed | Fill time too short for the product, slow valve response, pump unable to keep up | Fill time and speed settings against the machine sheet |
| Low only after a product changeover | Viscosity or density change, wrong recipe recalled, residue in the line | Recipe selected, product temperature, line flushed properly |
Three habits prevent most of it.
- Trend the weight instead of passing or failing it. One check bottle per shift proves very little. Weigh a small group at the start, middle and end of the run, and drift appears before it reaches the reject limit.
- Change one variable at a time. Adjust fill time and speed together and the evidence of what actually worked disappears.
- Fit seals as a set, using the confirmed part reference. A seal in the wrong material swells, hardens or contaminates product, and the symptom looks exactly like ordinary wear.
When the deviation follows the bottle rather than the nozzle, the machine may be filling correctly and the container is the variable. The note on bottle size and filling behaviour covers that case.
4. Problem 2: Dripping, Leaking and Product Build-Up at the Nozzle
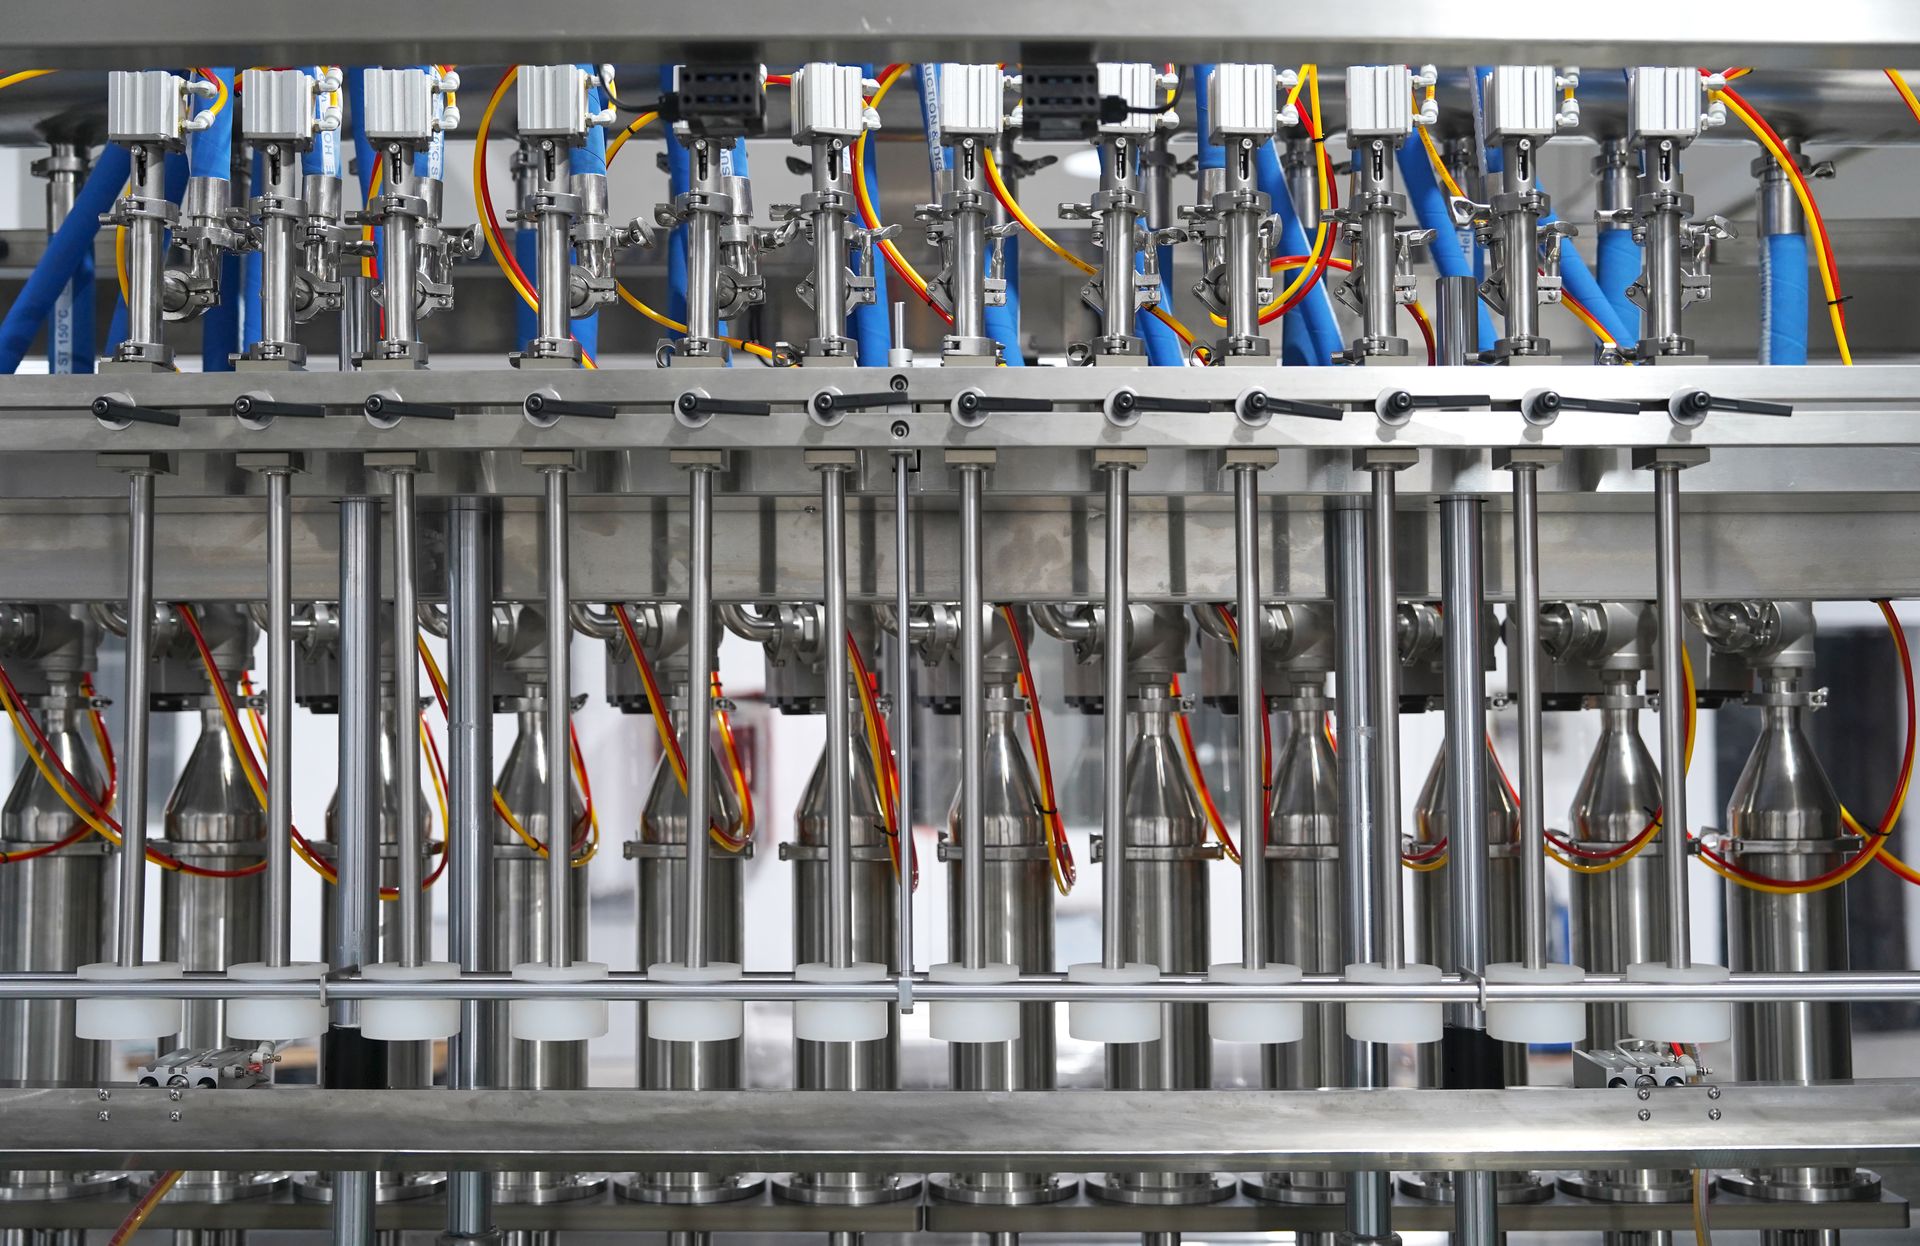
Nozzle dripping looks like a small defect and carries a large cost. Product on the shoulder contaminates the capping area, softens label adhesive, collects dust and eventually reaches the customer.
| Where the product appears | Most likely cause |
| A drop hanging on the tip after each fill | Anti-drip valve not seating, weak return spring, worn valve seat |
| Continuous slow weep between fills | Seal or valve seat wear, product solidifying in the valve body |
| Product running down the outside of the nozzle | Nozzle tip damaged or wrongly sized, fill stream touching the nozzle wall |
| Product on the bottle shoulder and thread | Nozzle too low or too deep in the bottle, splash on the return stroke |
| Dripping on one product or one shift only | Viscosity or temperature change, crystallising or film-forming product |
Countermeasures, cheapest first:
- Clean the nozzle tip and valve seat at the interval the product demands, not only at the end of the shift. Film-forming and crystallising products need a shorter one.
- Confirm the anti-drip setting and the spring condition against the documentation before adjusting anything.
- Recheck nozzle height and insertion depth after every format change. A few millimetres of bottle difference is enough to change splash behaviour.
- Keep the drip tray and the area beneath the nozzles clean. Residue on a tray hides the first sign of a forming leak.
Lowering fill speed is not a cure. It disguises the symptom, gives up capacity and leaves the worn seat in the machine.
5. Problem 3: Foaming, Air Pockets and Overflow
Foaming during filling comes out of the product meeting the machine, so a single setting rarely fixes it. Foam collapses in the bottle and leaves light fills, unstable caps and product on the outside of the container.Typical causes:
- Fill speed too high for the product, or the valve closing too abruptly.
- Nozzle discharging above the liquid surface, so the stream aerates the product.
- Turbulence from a tank return line or an over-agitated product tank.
- Air entrained in the supply, often from a loose suction joint or a low tank level.
- Product temperature rising, thinning the viscosity and increasing foam tendency.
- Surfactant level shifting between product batches.
Most foam complaints yield to the same sequence: confirm the product and its temperature match the setup, lift the nozzle or move to the documented submerged position, slow the first part of the stroke, then look for air entering the supply. Two notes go further, on controlling foam and overflow on a filling line and on removing air pockets from lotion and cream fills.
6. Problem 4: Bottle Positioning, Jams and Conveyor Timing
Bottle positioning faults read as filling problems and often start at the infeed. A bottle that arrives late, tilted or off centre makes the nozzle miss, shortens the fill, puts product outside the neck and hands the capper a contaminated finish.Check in this order:
- Guide rail width and height against the documented setting for the current bottle.
- Infeed screw and star wheel timing against the machine phase.
- Conveyor speed in relation to machine speed, including accumulation and back pressure at the infeed.
- Change parts actually fitted for the running format, not for the previous one.
- Batch variation in the bottles: wall thickness, neck concentricity, weight.
After a jam or a collision, record the event and inspect the handling area before restarting. A guide knocked a few millimetres out of position keeps producing short fills long after the jam itself is cleared.Format changes cause more positioning trouble than anything else, and the filler to capper compatibility checklist rules out most of it before the run starts.
7. Problem 5: No-Fill, Double-Fill and Sensor Faults
Missing and double fills are usually signal faults rather than mechanical ones.
- A photoelectric sensor that fails to see a transparent, dark or highly reflective bottle.
- A dirty or fogged lens, or one covered by product mist.
- A sensor bracket moved during cleaning or a format change.
- Encoder slip or a loose coupling, so the machine believes a bottle is where it is not.
- PLC timing that no longer matches the mechanical position after a speed change.
- A missing-bottle function left disabled to keep the line running.
When a sensor fault repeats at the same position, record how often it occurs instead of resetting the machine each time. Resets without history turn a five-minute lens wipe into a production investigation weeks later.
8. Problem 6: Suction, Pump and Product Supply Problems
Product supply problems leave a recognisable signature: weight falls on every station at once and the machine may sound different.
| Symptom | Likely cause | First check |
| Cavitation noise, uneven streams | Tank level too low, suction line restricted, air leak on the suction side | Tank level, suction joints, filter condition |
| All fills short after a filter change | Air not purged from the line, wrong filter element | Air purge procedure, element reference |
| Fill falls as speed increases | Pump or valve unable to deliver the required rate, viscosity too high for the line bore | Rated flow against actual demand, product temperature |
| Pressure gauge fluctuating | Air in the product, worn pump element, partly closed valve | Air purge, pump wear parts, valve position |
| Product reaches only some nozzles | Manifold or distributor restriction, unequal line resistance | Manifold condition, flow on each line |
Never raise pump speed to make up for a restricted line. That adds heat and shear, and on a shear-sensitive emulsion it alters the product before it reaches the bottle. Choosing a filler for viscous products deals with pump and line sizing.
9. Problem 7: Cleaning, Changeover and Residue
Cleaning residue explains many of the “the machine changed overnight” reports. A hardened film in a valve body, a nozzle bore narrowed by dried product, or a cleaning agent that attacks the seals all end in the same place: drifting weight and a dripping nozzle.
- Confirm the rinse and wash sequence reaches dead legs, valve bodies and nozzle bores, not just the tank.
- Check seal material against the cleaning agent, its concentration and temperature. A seal that swells in cleaning fluid fails in production.
- Flush immediately after a sticky or crystallising product. Waiting for the end of the shift is often too late.
- Re-establish fill parameters after a changeover. Viscosity and density have moved, so the previous recipe may no longer deliver the same weight.
- Dry or purge the line before restarting, so the first bottles are not diluted.
Log the cleaning agent, concentration and duration beside the fill results. When drift appears, that record shows whether cleaning changed or the machine did.
10. Problem 8: Pneumatics, Lubrication and Mechanical Wear
Pneumatic faults show as slow, soft or uneven action rather than as a hard stop.
- Air pressure sagging during the fill stroke, especially on multi-nozzle machines.
- Water or oil in the air line reaching solenoid valves and cylinders.
- A solenoid valve sticking, so the valve opens late or closes slowly and drips.
- A cylinder seal leaking internally, so the stroke completes but the fill is short.
- Mounting hardware loosening under vibration, shifting alignment at one station.
On the mechanical side, judge by sound and touch as well as by gauge:
- Noise or heat at one station compared with its neighbours.
- Chain, belt or coupling tension and any visible slack.
- Cam, gear and bearing condition at the documented service points.
- Fasteners on nozzle blocks and guide rails, which move first after a jam.
Lubricant type, quantity and interval come from the machine documentation. Copying a lubrication schedule from another filler of similar speed is a common and needless failure, because loads, seals and product contact all differ.
11. Recommended Daily, Weekly and Monthly Maintenance Schedule
Filling machine preventive maintenance is easier to sustain when every task is short and tied to a moment the shift already contains: start of shift, end of shift, the weekly cleaning stop and the monthly service stop.
| Frequency | Task | Typical owner | Record |
| Start of shift | Check air pressure, tank level and product temperature; weigh a check bottle; listen at each station | Operator | Weight result, any new noise |
| During production | Watch fill quality, dripping, foam and bottle position; note the first deviation and its station | Operator | Station, time, observation |
| End of shift | Clean nozzle tips and the drip tray; flush product lines where the product requires it; check for leaks | Operator | Cleaning done, line flushed |
| Every shift | Compare the fill weight trend with the previous shift, not only with the limit | Operator or QC | Trend note |
| Weekly | Inspect nozzle bores, anti-drip valves, seals and visible contact parts; check guide rail settings and change parts; inspect the air filter and drain moisture | Technician | Condition and action |
| Weekly | Check sensor lenses and brackets; verify the missing-bottle function | Technician | Position and result |
| Monthly | Inspect seals and wear parts at documented stations; check chain, belt and coupling condition; verify lubrication points | Technician | Parts and intervals |
| Monthly | Review the log for repeated events at the same station | Maintenance planner | Recurrence decision |
| Per format change | Verify guide rails, change parts, nozzle height and fill recipe before production | Technician and operator | Setup confirmation |
Two rules keep this table honest. The interval and the value must carry their source: machine manual, manufacturer instruction or an approved site plan. A repeated event at the same station is a mechanical question, not an inventory problem, and raising spare stock without investigating the recurrence only makes the same failure better supplied.
12. Maintenance Record Template
A short, consistent record beats a long narrative, because it can be compared across shifts and filtered for recurring events.
| Machine and date | Asset number, shift and service date |
| Inspection point | Nozzle, valve, seal, piston, guide rail, sensor, filter or another confirmed point |
| Condition and evidence | Factual observation plus weight reading, photograph or comparison with a known good station |
| Action and part | Cleaned, adjusted, replaced or escalated; confirmed part reference when a part was fitted |
| Next requirement | Manual-defined interval, approved follow-up or further machine-specific inspection |
Photographs carry more than memory for conditions that change slowly. A dated image of a nozzle tip, a seal face or a guide rail position gives the next inspection a real reference point.
13. Relevant Runtech Product Reference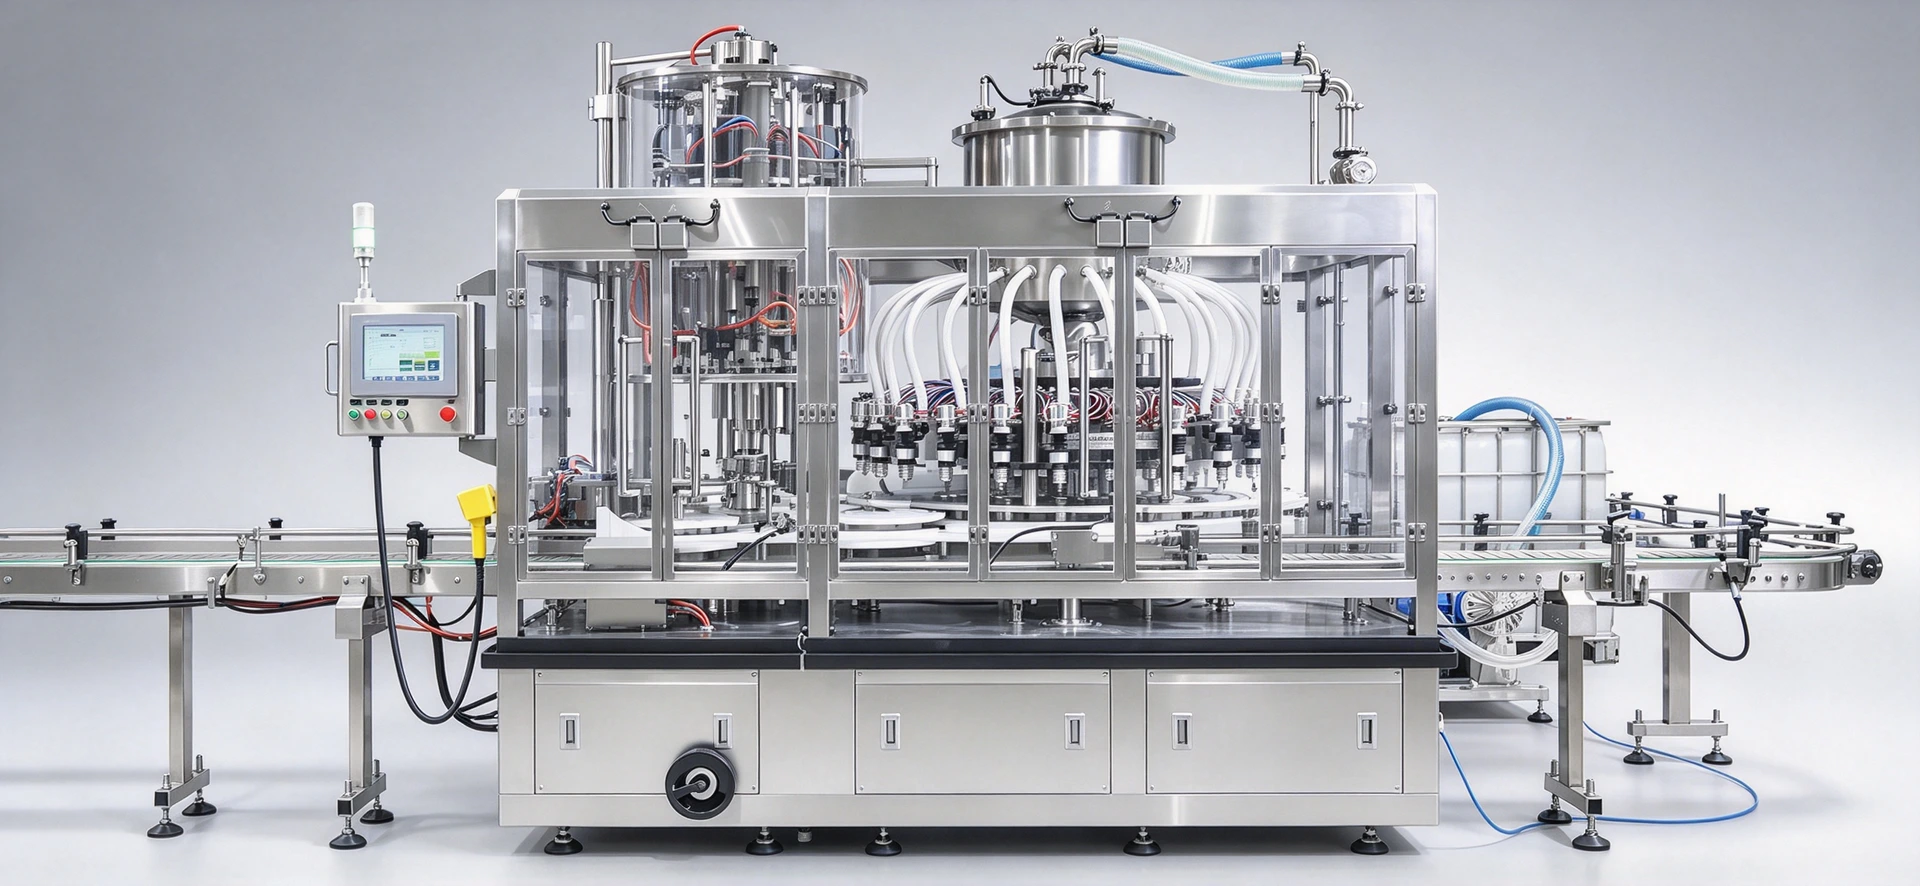
The high precision servo piston filling machine is the relevant Runtech reference for the volume and seal topics above. Its page describes servo driven piston dosing for viscous liquids, with per nozzle volume control and recipe storage, which is the configuration most of the drift and seal checks here apply to.Relevant when: reviewing equipment after the maintenance routine and wear points have been defined.Why it relates: the product page identifies servo piston dosing, nozzle configuration and changeover by recipe, which decide how fill volume is set and checked.Confirm before selection: bottle and product compatibility, nozzle count and diameter for the actual viscosity, seal material for the product chemistry, and the service list for that machine.View product details
Frequently Asked Questions
Observation belongs to every shift, because the operator sees the same bottle path and hears the same machine all day. Inspection of nozzles, seals and handling parts belongs to planned stops, at the interval the manual defines for that machine.
A group tells you more. Weighing a few bottles at the start, middle and end of a run reveals drift and trend, while a single bottle only shows whether the line passed at that moment.
A single-station deviation usually points to that station alone: a worn piston seal, a leaking or slow valve, a partly blocked nozzle bore or a displaced nozzle height. Compare it with a known good station before replacing parts.
Reducing speed hides the symptom and costs capacity. Dripping comes from the valve seat, the spring or the seal, from nozzle height, or from product residue, and each of those has its own correct fix.
Viscosity, density and temperature have changed, so the previous fill time and valve settings no longer deliver the same volume. Re-establish the parameters for the new product and confirm the recipe selected on the machine.
Send the machine model and serial number, the station or nozzle number, photographs of the affected assembly, the part reference if it is visible, the maintenance history and a clear description of the observed change. Include the product and bottle specification when product contact parts are involved.