
For anyone new to the problem, start with the definition. A filling nozzle drips when something keeps pushing product through the shut-off point after the fill command ends: residual pressure, a worn seal or seat, product stringing as it warms up, or a cutoff timed too late. Remove that driving force and the drip stops.
In this troubleshooting guide we walk through the six causes we see most often on liquid and paste lines, how to match the fix to the failure, what a single drip costs the rest of your line, and the routine that keeps it from coming back.
Key takeaways
- Diagnose by timing first: a drip immediately after cutoff points to timing or suck-back, a drip minutes after stopping points to trapped pressure, and a one-head-only drip points to wear at that valve.
- Six causes cover nearly every case: worn seals, damaged or particle-blocked valve seats, residual line pressure, a cutoff timed too late, a suck-back value set wrong, and product temperature, viscosity or particle shifts.
- More suck-back is not better: excessive withdraw pulls product back out of the bottle neck and can cause underfills.
- Slow the last 20% of the fill stroke by 20 to 30% to cut splash, stringing, and post-fill drip on fast lines.
- Replace nozzle shut-off seals every 3 to 6 months and piston seals every 6 to 12 months as planned maintenance, not as emergency repairs.
Start with When the Drip Happens
Before you adjust anything, watch three or four complete cycles and write down when the drip happens. The timing pattern is the single most useful diagnostic clue, because each pattern eliminates half the possible causes on its own.
When and how the drip appears | Most likely cause | First check |
Drips immediately after every cutoff | Cutoff timed too late, or suck-back set to zero or too small | Check the shutoff delay in the fill profile; inspect the last 20% of the stroke speed |
Keeps dripping for minutes after the machine stops | Residual pressure trapped in the product path or a leaking check valve | Crack open a drain point at the end of the manifold and see if pressure bleeds off |
Only one head drips, others are clean | Worn seal, damaged seat, or debris at that one valve | Swap seals between a good head and the bad head; if the drip follows the seal, you have your answer |
All heads drip at once | Shared cause: line pressure, product temperature, or a recipe change | Check product temperature and batch viscosity first, then the common pressure regulator |
Stringing or tailing instead of clean drops | Product behavior: high viscosity, cooling film forming at the tip | Feel the nozzle tip temperature; compare a warmed batch against a cold one |
Drip starts after a changeover or recipe switch | O-ring or seal reseated improperly, or new product needs different suck-back | Re-inspect seal seating from the last rebuild before changing any setting |
One safety note before you open anything up: Relieve the product line pressure first, then lock out the machine before removing a nozzle or valve seat. Trapped pressure behind a viscous paste can throw product hard when a clamp is loosened, and we have seen more than one face redecorated that way. Release, lockout, then inspect.
The pattern tells you more than the parts do. A seasoning plant in central China called us about a twelve-head oil line where head number nine kept dripping. The maintenance team had already replaced the nozzle twice and was preparing to replace the whole filling valve. We asked one question: do the other eleven heads drip? No. Only nine. That answer ruled out pressure, timing, and the recipe, and pointed straight at the head-nine valve. The culprit was a nicked valve seat from an earlier brush-cleaning incident. One seat, thirty minutes of work, problem gone. If they had checked the pattern first, they would have saved two nozzle swaps and a shift of downtime.
That is the discipline this guide is built on: the drip is a symptom, not the fault. Find when it happens and the cause list narrows itself.
Want a second pair of eyes on a stubborn line? Send us a short video of the drip with your fill profile visible, and our engineers will help you read the pattern: talk to the RUNTECH team.
The Six Most Common Causes of Filling Nozzle Dripping
Almost every case of filling nozzle dripping we inspect on site comes down to one of these six causes, or a mix of them:
- Worn seals and damaged valve seats
- Residual pressure trapped in the product path
- A cutoff timed too late
- A suck-back value set wrong
- Product behavior: temperature, viscosity and particles
- A local fault at one head while the others stay clean
Worn seals and damaged valve seats
The shut-off point of any filling nozzle relies on soft seals (typically silicone, EPDM, PTFE, or FKM) meeting a hard, smooth seat. Seal wear is gradual, so crews often do not notice until the drip is constant. Seat damage is usually sudden: a hard particle, a metal brush, or an over-torqued clamp leaves a scratch that product weeps through. Watch for a drip that gets worse week over week, a visible groove on the seat, or a seal with permanent compression set (it no longer springs back to shape).
Residual pressure trapped in the product path
Positive displacement pumps and piston systems hold pressure in the manifold and hose after the cycle ends. If a check valve does not seat fully, or the line has an air pocket that slowly equalizes, that pressure finds the path of least resistance: your nozzle tip. This is the classic "why is my filling machine dripping after filling" complaint, where the machine drips for ten minutes after the last bottle. The fix is usually at the check valve or in the bleed-down logic, not at the nozzle.
Cutoff timed too late
A cutoff that arrives late looks almost exactly like a bad suck-back setting, so read the timing before you touch either one. Cut off too late, and product keeps flowing as the bottle moves away, leaving a stretched strand that falls as a drip on the way to the next station.
Suck-back set wrong
Suck-back is the controlled reverse movement (or vacuum) that pulls the product column back into the nozzle at the end of the fill. It is your first-line tool against filling machine nozzle dripping on thin to medium products. Set it too low and the pendant drop at the tip never retracts.
Tip: More suck-back is not always better. Increase suck-back too far and you pull product back out of the bottle neck after filling, which shows up as underfilled bottles, foaming on aerated products, or a wet ring inside the neck finish. Adjust in small steps (roughly 5 to 10% of current value), watch filled net weight, and stop as soon as the drip stops. If the drip needs a huge suck-back value to disappear, the real fault is elsewhere, usually a worn seal or late cutoff.
Product behavior: temperature, viscosity and particles
Product changes with the season and the batch. A chilli sauce that runs at 45 °C in summer flows differently at 20 °C in winter; viscosity climbs, the column stretches, and you get nozzle stringing instead of a clean cut.
Particles create a second failure mode. A sauce plant we know ran a chunky chilli paste on a piston filler. Every seal change bought them exactly one clean batch; then the drip came back mid-shift. The maintenance lead finally pulled the valve seat and found a chilli seed wedged in the seat face, holding it open by a fraction of a millimeter. Every passing particle re-wedged it. The permanent fix was not a different seal; it was a coarse strainer upstream and a seat design with wider clearances for that recipe. When drips follow the product, check temperature and filtration upstream before you look at hardware.
One head drips vs all heads drip
This distinction deserves its own heading because it halves your search space instantly. One dripping head means a local fault: that head's seal, seat, nozzle, or fill profile entry. All heads dripping means a shared fault: manifold pressure, product temperature, a recipe change, or a central setting someone adjusted on Friday afternoon. Test the shared variables first, because they are faster. Drill into the individual valve only when the pattern is truly local.
Matching the Fix to the Failure
Once you know the cause, choose the fix that fits your product type. The right shut-off strategy for water-thin products is wrong for a foaming detergent and useless for a chunky sauce.
Product type | Main drip risk | Recommended shut-off approach |
Thin, free-flowing liquids (water, oil, alcohol) | Pendant drop and stringing at the tip | Positive shut-off valve plus moderate suck-back; keep tip geometry smooth |
Viscous pastes (tomato paste, honey, cream) | Column stretching and residual pressure bleed | Positive shut-off with strong seal face; follow-up suck-back timed to column release |
Sauces with particles or seeds (chilli sauce, jam) | Particle holding seat open, seat erosion | Larger-clearance valve seat, upstream straining, ball or plug valve style shut-off |
Foaming products (shampoo, detergent, craft beer) | Foam expanding out of the neck after fill | Diving (bottom-up) nozzle, slower final fill, reduced drip-back turbulence |
On the paste row, our tomato paste piston filling guide walks through how consistency, particle content and nozzle shut-off interact on thick tomato products.
Settings and timing adjustments
Start with the free fixes. Pull the cutoff point earlier in small steps and watch the drip. Slow the final 20% of the fill stroke by 20 to 30%: this one change cuts splash, stringing, and post-fill drip on most fast lines, because the product column settles instead of snapping. Then tune suck-back using the small-step rule from the tip block above. Log every change against filled net weight so you can see whether a setting that stops the drip is quietly creating underfills.
Changes like these are easiest to hold repeatable on a servo driven filler, and our servo vs piston filling machine comparison lays out the trade-offs between the two drive types.
Cleaning and wear-part replacement
Some drips are just a machine telling you it is overdue for a rebuild. Build a replacement rhythm instead of waiting for failure: nozzle shut-off seals every 3 to 6 months depending on product abrasiveness and CIP chemical exposure, and piston seals every 6 to 12 months. When handling food products, follow cleaning and material guidance such as 21 CFR Part 117 food cGMP or the EHEDG hygienic design guidelines so your cleaning chemicals do not attack the seal material you just installed.
Inspection tip: pull one seal and hold it next to a new one under good light. Compression set, glazing, or nicks are obvious once you know what a fresh seal looks like.
Positive shut-off, suck-back and diving nozzles
When settings cannot keep up, hardware steps in. An anti-drip filling nozzle with a true positive shut-off closes mechanically at the tip, independent of line pressure, which is why it is the default answer for thin liquids and for any line where residual pressure keeps reappearing. Suck-back handles the pendant drop on medium products. Diving nozzles fill from the bottom of the bottle and rise with the level, which solves the foaming and splash cases and shortens the free-fall distance, cutting drip-back.
If your line mixes product types, a filler built around swappable nozzle modules saves you from redesigning the machine at every recipe change. Our overview of linear filling machine types shows which nozzle styles pair with each machine family.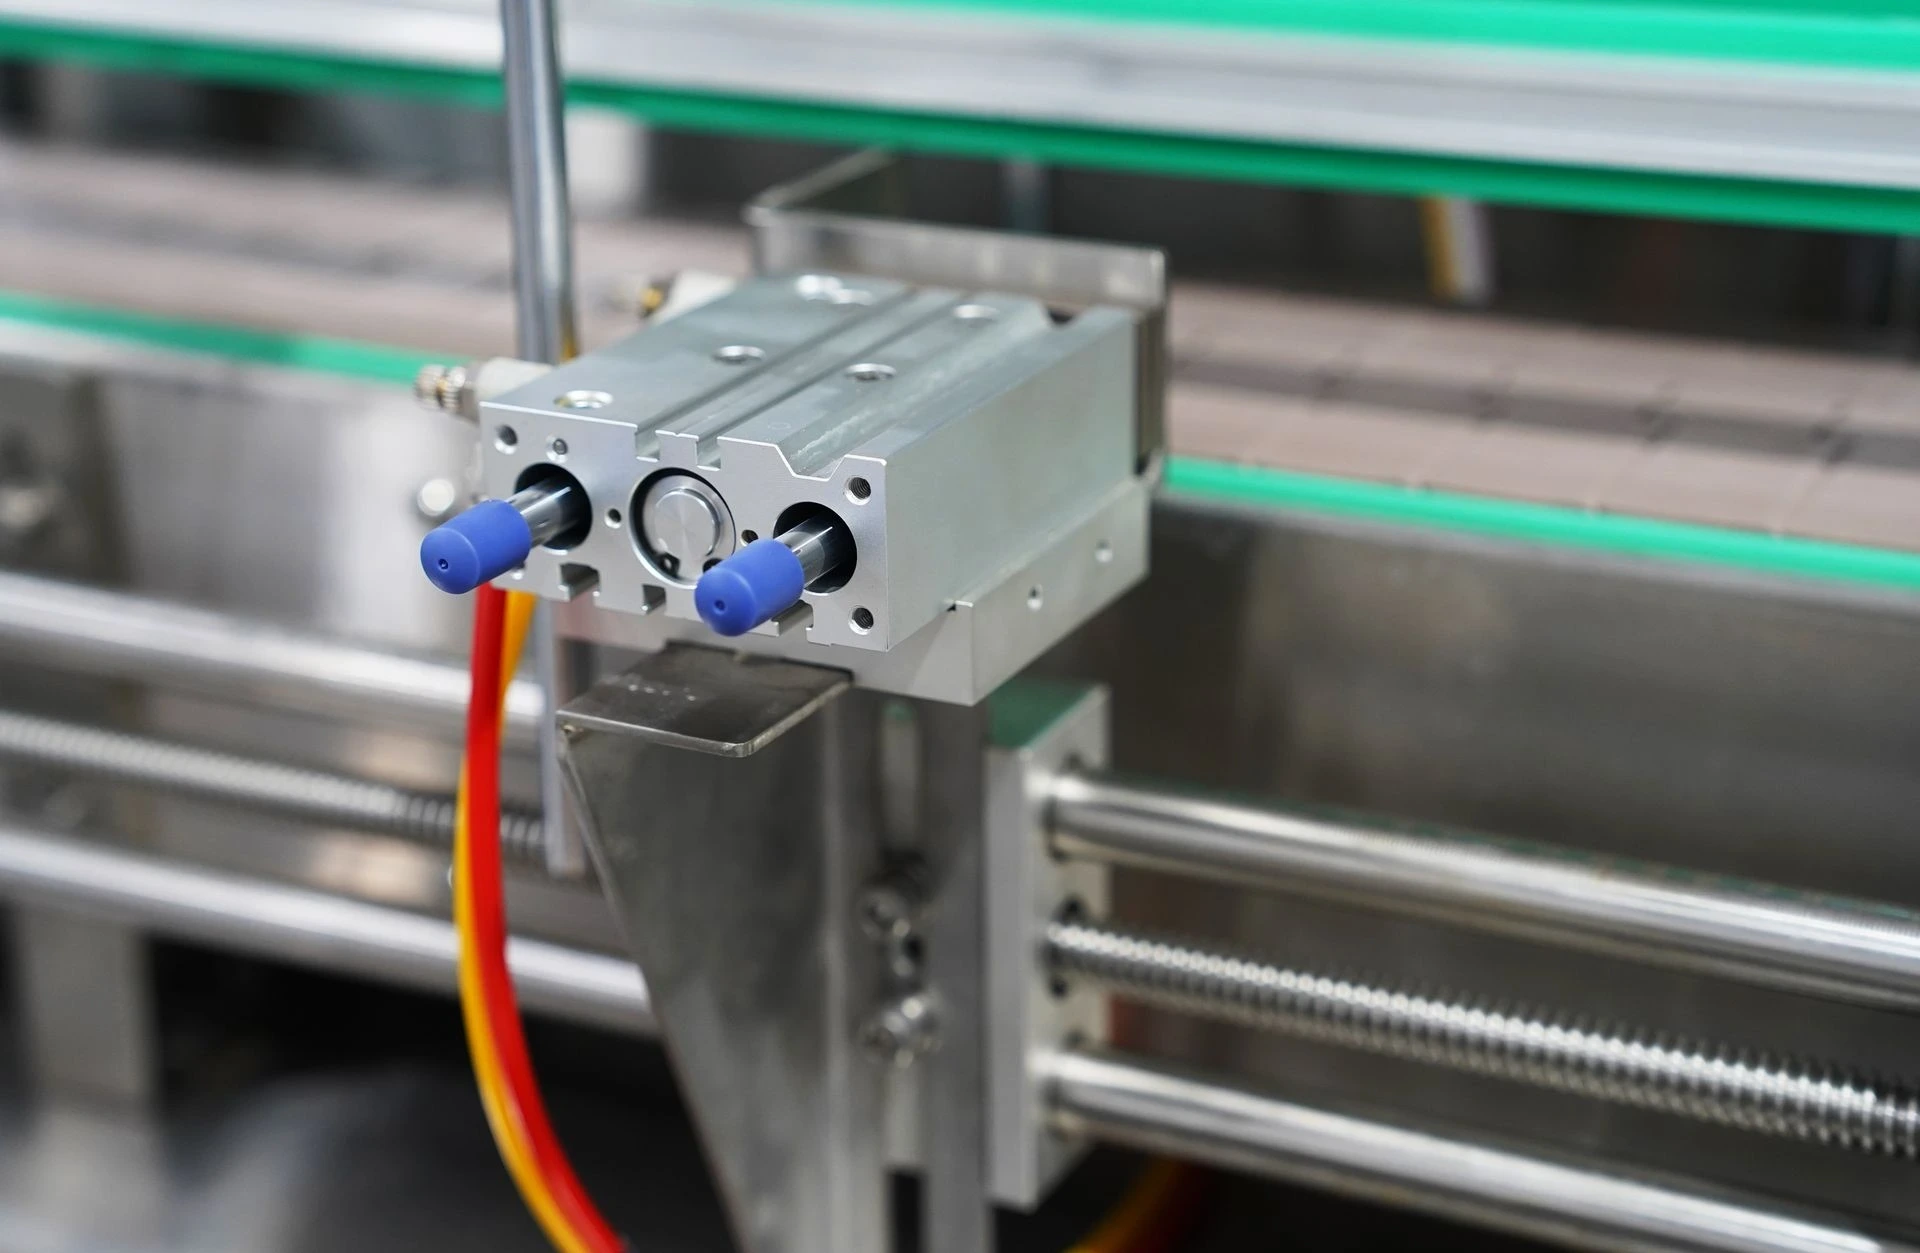
Ready to see which nozzle configuration fits your product? Browse our piston type filling machines for paste and chunky-product lines, or request a nozzle recommendation for your exact recipe.
What Filling Machine Nozzle Dripping Costs the Rest of the Line
A drip looks like a filling problem, but its damage shows up two stations downstream. Here is the chain we see on real lines, and why the filling head deserves your attention before the capper does.
Step 1: The drip lands on the bottle neck. Product on the neck finish, especially on the threads or the sealing lip, is now carried into the capper.
Step 2: The capper torque becomes inconsistent. A capping chuck gripping a wet or oily neck slips differently on every bottle. Torque application scatters, so you get some caps over-torqued and cracked, some under-torqued and loose, and capper operators chasing the problem with clutch adjustments that never quite hold. The capper has its own torque, chuck and clutch options, which our rotary capping machine range covers, but when the trigger is a wet neck, start at the filler.
Step 3: Post-cap leaks and returns. A contaminated sealing lip means the cap liner never seats fully. The leak may not appear at the exit conveyor; it appears as a stained carton in a customer's warehouse or a bulged shipment on a hot route.
Step 4: Label and pack losses. Drips that run down the bottle body ruin pressure-sensitive labels, which means label scrap and re-labeling work. Every drop that misses the bottle is product loss, cleaning solvent, and wipe-down labor, on repeat.
Put numbers on it and the arithmetic gets uncomfortable fast. Assume a modest 2 ml of product lost per drip event across 30,000 bottles per day. That is 60 liters a day. At a conservative $6 per liter, dripping costs about $360 a day, or roughly $10,800 a month, before you add 30 minutes of extra cleaning and wipe-down per shift and a 0.5% label scrap rate. On a mid-value sauce the true total climbs well past that, and that is before the heavier costs: a failed net-weight compliance audit because underfilled bottles slipped through, or a retailer chargeback for leaking cases. On lines selling into regulated markets, fill-weight accuracy is not optional, and a dripping nozzle that also pulls product back out of the neck is a direct compliance risk.
The chain reaction deserves a picture. Once operations teams see it, dripping stops being "the filler guy's problem":
If recurring drips have already pushed your line into capper adjustments and label scrap, it may be time to review the filling side instead of tuning the capper again. A short conversation with our engineers usually separates the mechanical causes from the process ones: contact RUNTECH and bring your bottle and product details.
Prevention Checklist
Dripping returns when maintenance is reactive. The schedule below is what we recommend to customers running two-shift liquid and paste lines; shorten the intervals for abrasive or acidic products, stretch them for gentle ones.
Interval | Task | Why it prevents dripping |
Start of shift (before production) | Wipe and inspect every nozzle tip; run 3 test cycles into a check bottle and watch for the first drip | Catches a failing seal or a seed at the seat before it contaminates a full run |
Every changeover | Verify seal and O-ring seating after any nozzle or valve work; confirm suck-back value matches the new recipe | Most post-changeover drips come from an O-ring reseated crooked or a recipe that needs different suck-back |
Weekly | Check product temperature against recipe spec; inspect strainers; compare net weights on sampled bottles | Viscosity drift and clogged filtration are slow-burn drip causes |
Monthly | Pull and inspect one nozzle seal per head; check valve seats under bright light; verify bleed-down of line pressure | Tracks seal wear before it becomes a drip, and catches trapped-pressure faults |
Changeover is the row everyone skips. A cosmetics plant we worked with rebuilt a lotion filler over a weekend changeover. In the Monday rush to start production, a technician pushed an O-ring back into its groove without checking the seat. It seated crooked. The line ran with a light drip all morning, the crew blamed the lotion batch, and by the time someone re-opened the valve, the misaligned ring had worn a mark into the seat as well. Total cost: one shift of marginal bottles and a seat that now needed polishing. The fix costs nothing: make seal seating verification a signed checklist item at every changeover, the same way you verify torque settings.
Conclusion
Filling machine nozzle dripping is frustrating precisely because it looks like a nozzle problem when it rarely is. Work the diagnosis in order. Read the timing pattern first: a drip right after cutoff, a drip minutes after shutdown, and a one-head drip point to completely different faults. Then work through the six causes, from worn seals and damaged seats to trapped pressure, cutoff timing, suck-back settings, and product behavior changes. Match the fix to your product type, because the shut-off strategy that works for thin oils fails on chunky sauces and foaming detergents. And remember the downstream stakes: one drip on the neck finish becomes scattered capping torque, post-cap leaks, scrapped labels, and a fill-weight compliance headache.
The harder shift is mental: stop treating the drip as an emergency, start treating it as a maintenance signal. The teams that run drip-free lines are not running better nozzles; they are running better habits: pattern reading at startup, seal checks on schedule, and small, logged adjustments instead of big guesses.
If you want that habit set built into your next machine rather than retrofitted into your current one, bring us your product sample and your bottle. We will run it on our test heads, show you the shut-off configuration that fits, and quote a line that stays dry. Start the conversation with RUNTECH today, and browse all filling and capping articles while you are there.